
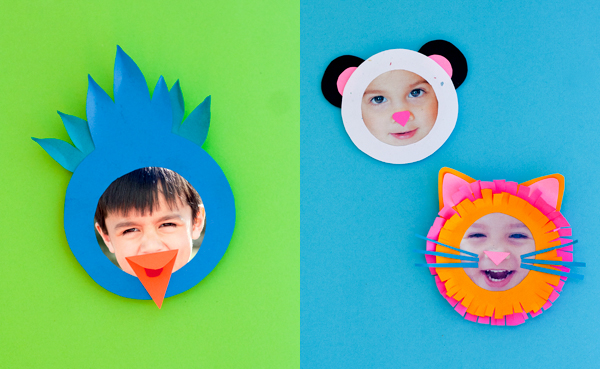
In the production of photomagnets, you spend a fun afternoon together with the children, and as a result you can decorate the refrigerator or perhaps please grandma. Nee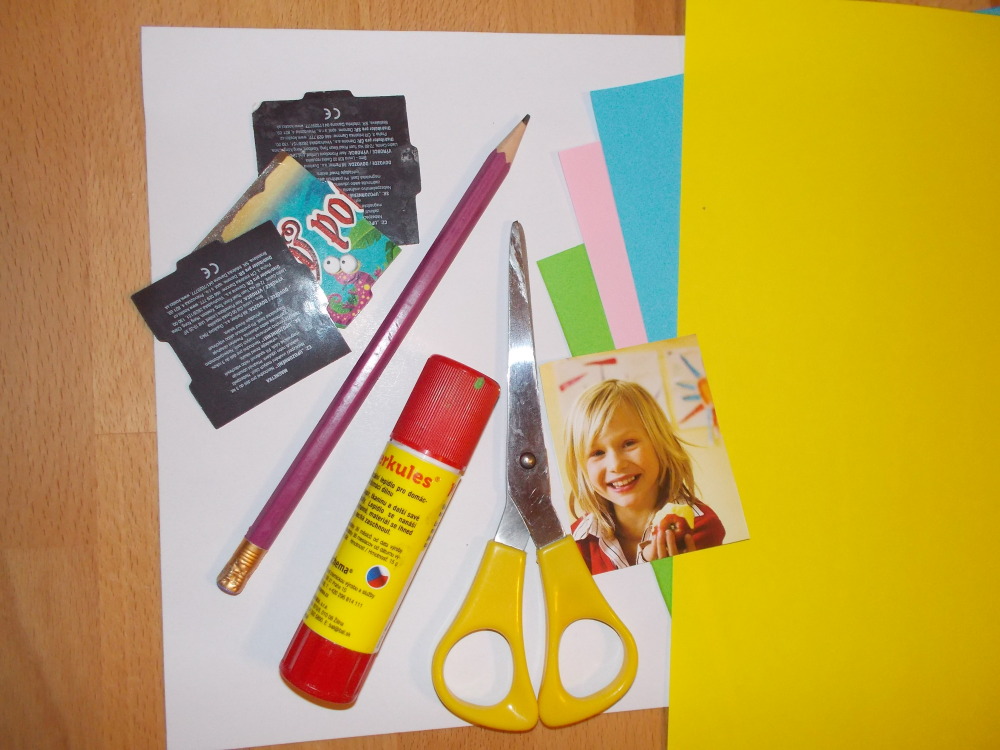
d
portrait printed on the printer, colored papers, quarter or cardboard as a base – we used a reinforcement from a pack of T-shirts (if you have straight colored quarters, you do not need cardboard), thin picture magnets of yogurt or self-adhesive magnetic tape, scissors, pencil, glue
Hophoto or
w to do i
t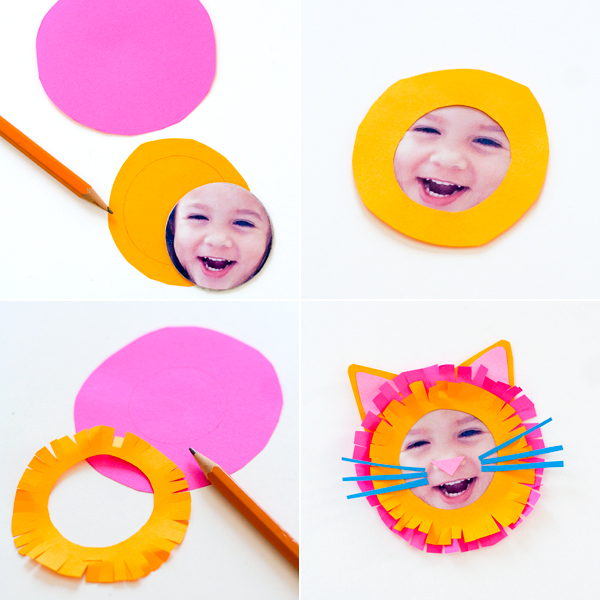
1. We'll cut the wheels out of the pictures of the kids. The wheels should be about 5 centimetres in diameter so that the face can be nicely accessed and the child can be identified. We cut out the same circle from the quarter/cardboard and stick the photo on it.
2. We always prepare a wheel larger than the photo from colored paper on the pet's head (you can cut the wheel directly with your ears, etc.). We draw a smaller circle into it and cut out the middle – we try to make the colored edge of the face in the photo cover only slightly.
3. We create animals according to fantasy – we conjure up the lion's mane by cutting the edges of the paper ring, etc. We glue to the photo and add whisks, noses, etc. at will.
4. Finally, on the underside of the finished animals, we glue a piece of magnetic tape or half a magnetic picture.