
Warning: strpos(): Empty needle in /data/web/virtuals/326577/virtual/www/domains/jaksiudelat.cz/wp-content/plugins/ad-inserter/class.php on line 5737
 When we say everyone, we mean that it is really enough to be able to turn only the basic eyelets smoothly and rule with two needlewomen. The cap knits like a simple rectangle! What we
Ball of wo
How to do it
:1 Start wi
2 We knit the elastic hem to a height of about 5 cm simply : 1st row – the edge eye – next we alternate 2 smoothly, 2 turns – the edge eye. We knit the second row so that the eyes from the cheek side still look the same (i.e. the one that was smoothly in the 1st row, we make a turn in the 2nd row, etc.)
Proven rescue: Sometimes, even at the best of measurements, you don't accurately estimate size. If your cap is looser than you need, you can stretch a round rubber band with the hem from the reverse side. A proven trick is also to dress the hem of the cap, it will tighten a little.3
4The chosen pattern continues to the necessary height – for our children's cap it was about 20 cm. Then in one row we knit every 2nd and 3rd eye to reduce the total number of meshes in half, and then knit one more row. Then, with approximately 0.5 meters of interference, we cut off the wool (we need it to sew it) and thread it into a needle.
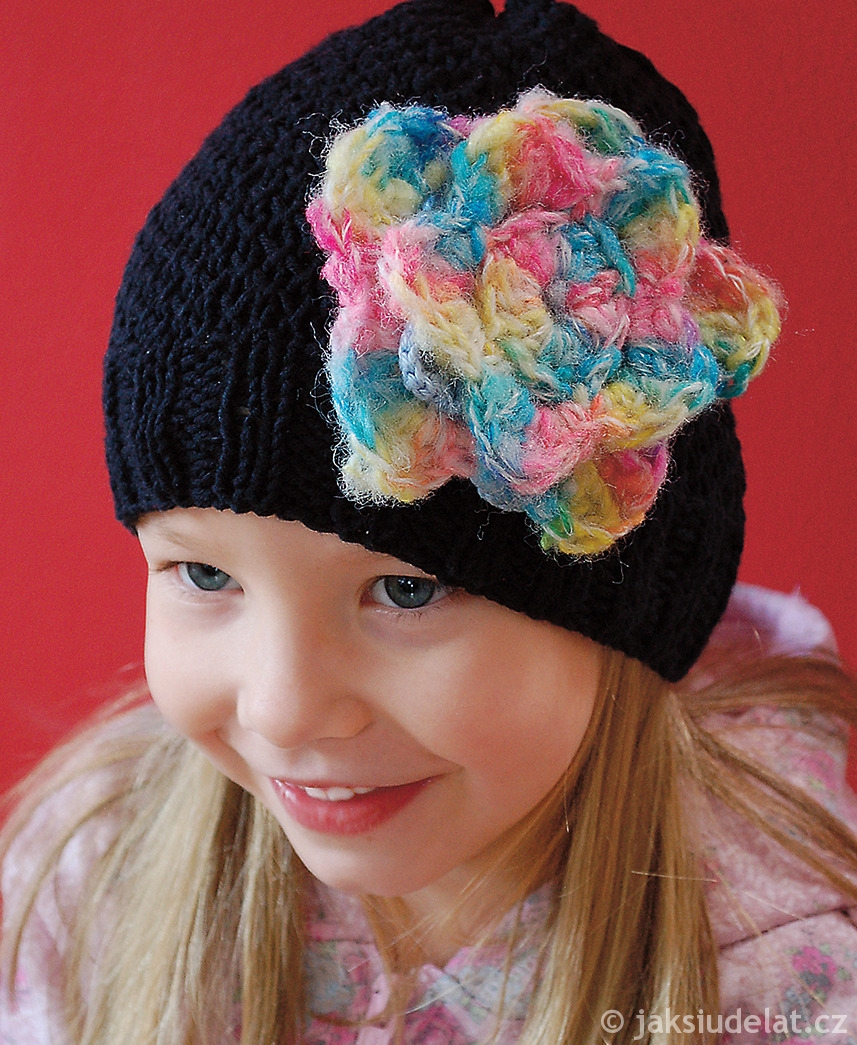
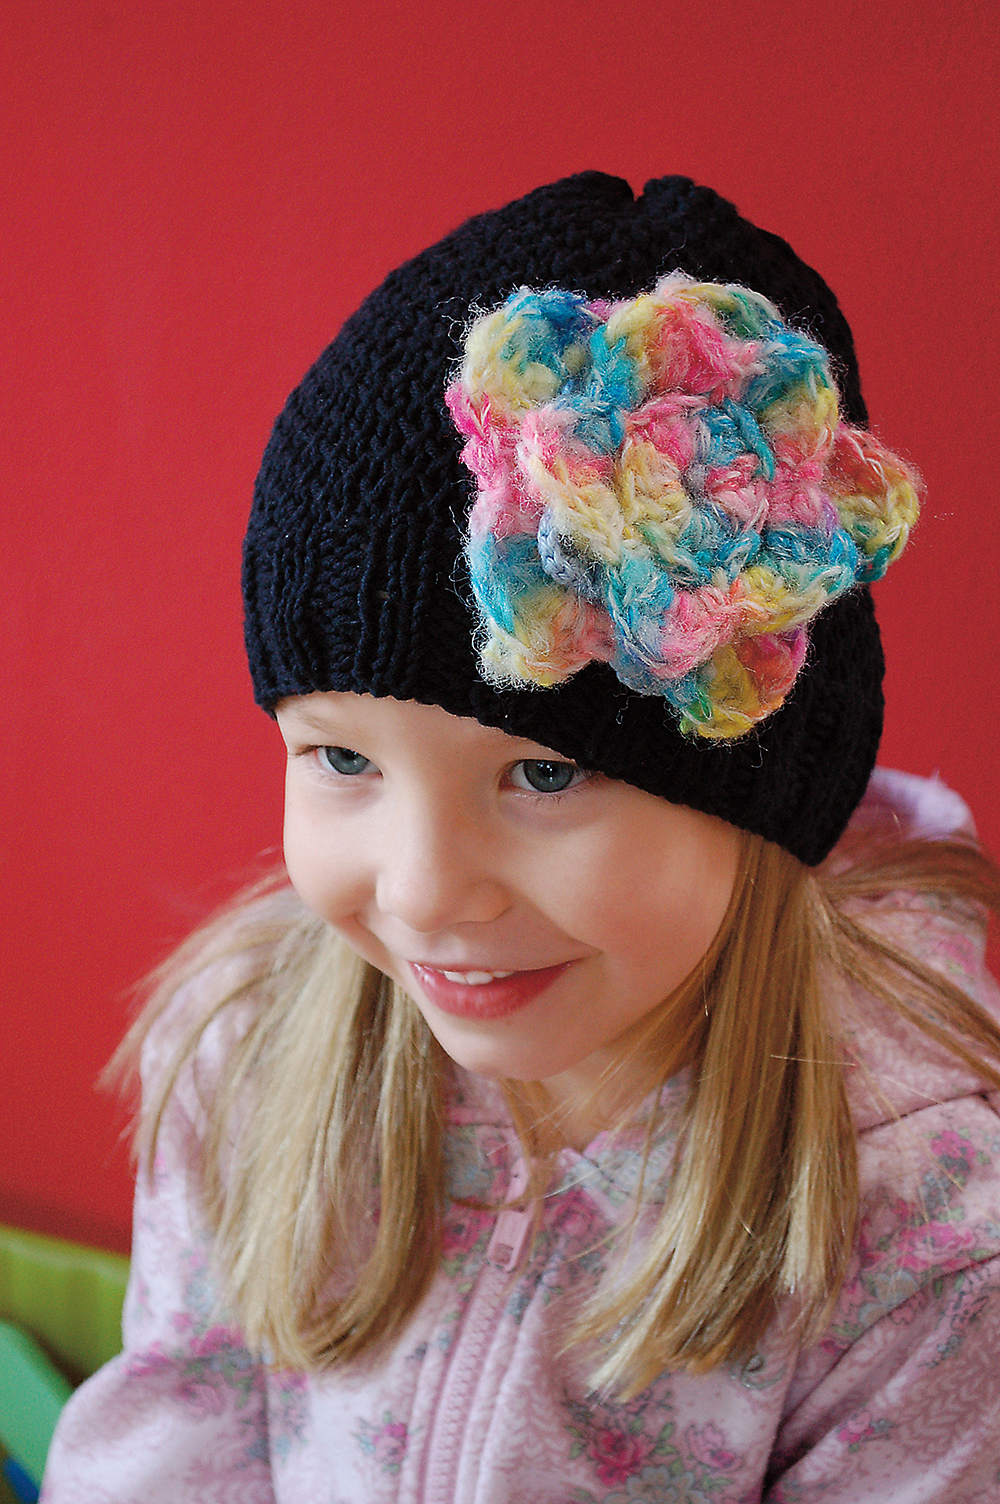
5 Then we stretch the remaining tips on the needle, take out the needle and pull the knitted fabric on the yarn as much as possible together to make the smallest hole on the tip of the cap. Sew the cap down with the rest of the yarn on the needle. If you can handle it, you can hook the seam instead.We decorate the finished cap with, for example, with distinctive buttons, crocheted applications – flowers, etc., or by adding a pompom, we turn it into a cute ball. Instructions for a completely simple flower knitted only smoothly-turning can be found HERE.
Photo: Los Typos